What is a Whitening Mask and How Does it Work
A whitening mask is a skincare treatment designed to lighten skin tone, reduce hyperpigmentation, and promote a more even complexion. Unlike harsh chemical treatments, DIY whitening masks often utilize natural ingredients with skin-brightening properties. These masks typically work by inhibiting melanin production, the pigment responsible for skin color. They may also exfoliate the skin, removing dead cells that can contribute to a dull appearance. Regular use of a DIY whitening mask, combined with a consistent skincare routine, can contribute to a brighter, more radiant complexion. It is essential to choose ingredients that suit your skin type and to perform a patch test before applying any new mask to your entire face. Consider the ingredients and their potential benefits.
Ingredients for a DIY Whitening Mask
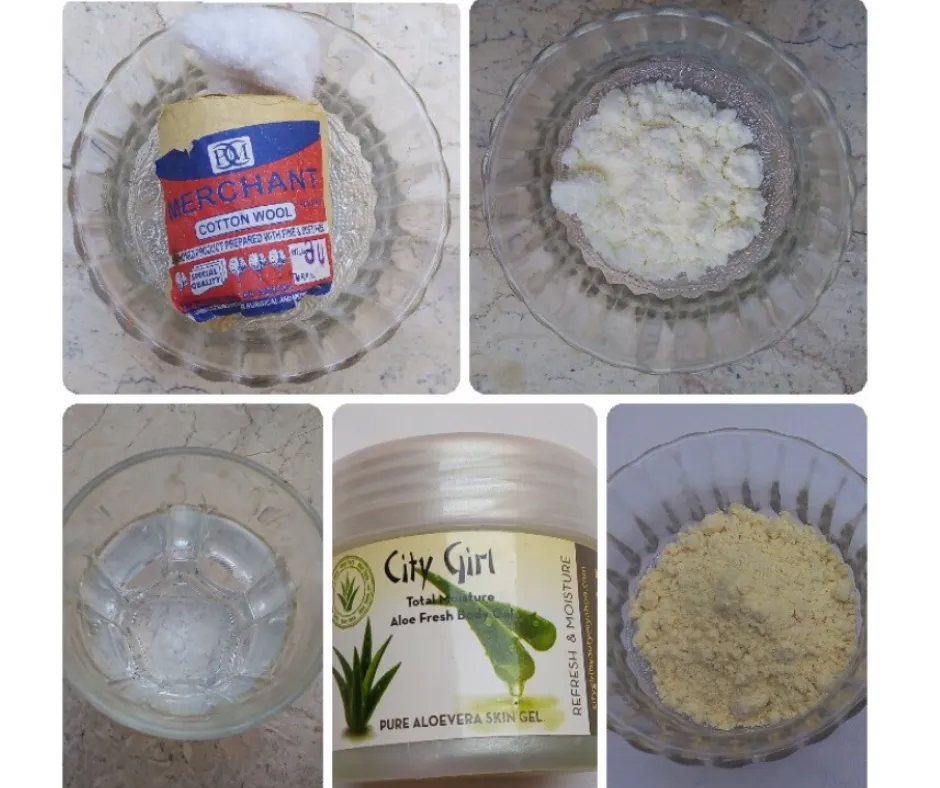
The effectiveness of a DIY whitening mask depends on the ingredients used. Many natural ingredients possess skin-brightening properties. Common ingredients include lemon juice, known for its citric acid content, which acts as a natural bleaching agent; turmeric powder, containing curcumin, an antioxidant with anti-inflammatory and skin-lightening benefits; honey, a humectant that moisturizes and soothes the skin, and yogurt, which contains lactic acid, a gentle exfoliant. When selecting ingredients, consider your skin type and any potential sensitivities. Always ensure that the ingredients you use are fresh and of good quality to maximize the effectiveness and safety of your DIY mask. Always research the properties of the ingredients you are using.
Lemon Juice
Lemon juice is a popular ingredient in DIY whitening masks due to its high concentration of citric acid. This acid acts as a natural bleaching agent, helping to lighten dark spots and even out skin tone. However, lemon juice can be harsh on the skin, causing irritation or increased sensitivity to the sun. It’s essential to use lemon juice sparingly and dilute it with other ingredients. Avoid using lemon juice if you have sensitive skin or open wounds. Always perform a patch test before applying a mask containing lemon juice to your entire face. It is crucial to understand the potential risks and benefits before using it.
Turmeric Powder
Turmeric powder, a staple in Ayurvedic medicine, is known for its anti-inflammatory and antioxidant properties. The active compound, curcumin, helps to reduce hyperpigmentation and brighten the skin. Turmeric also has the added benefit of helping to reduce acne and soothe irritated skin. When using turmeric in a mask, be careful to avoid staining your skin. Always use a high-quality, pure turmeric powder. Combining turmeric with yogurt or honey can enhance its effectiveness and create a more balanced mask. Consider this ingredient for its multiple benefits.
Honey
Honey acts as a humectant, drawing moisture to the skin and keeping it hydrated. It also has antibacterial and anti-inflammatory properties, making it beneficial for acne-prone skin. Honey’s natural enzymes can also gently exfoliate the skin, contributing to a brighter complexion. Raw honey is often preferred in DIY masks because it is less processed and contains more beneficial nutrients. Always choose a high-quality honey, and be aware of potential allergic reactions. The properties of honey are beneficial for the skin.
Yogurt
Yogurt, especially plain yogurt, contains lactic acid, a mild alpha-hydroxy acid (AHA) that gently exfoliates the skin. This exfoliation helps to remove dead skin cells, revealing brighter, smoother skin underneath. Yogurt also contains probiotics, which can help to balance the skin’s microbiome and reduce inflammation. When choosing yogurt for a mask, opt for plain, unsweetened yogurt without added flavors or sugars. Yogurt can also help soothe the skin. Consider this ingredient for its multiple benefits.
Creating Your DIY Whitening Mask Recipe
Creating your own DIY whitening mask allows you to customize the ingredients to suit your specific skin type and concerns. When formulating a recipe, consider your skin’s needs. For dry skin, focus on hydrating ingredients like honey and yogurt. For oily skin, consider lemon juice (diluted) and turmeric. Always start with a small batch to test the ingredients. Remember to maintain a balance of ingredients to maximize benefits and minimize the potential for irritation. Research various recipes to understand which ingredients complement each other. The recipe that works well for someone else might not work well for you.
Mask Recipe 1 Lemon and Honey
This mask combines the brightening power of lemon with the soothing properties of honey. Mix 1 teaspoon of fresh lemon juice (diluted with 1 teaspoon of water) with 1 tablespoon of raw honey. Apply to the face and leave for 10-15 minutes. Rinse thoroughly with lukewarm water. This mask is best suited for those without sensitive skin. If you experience any irritation, rinse immediately. Remember that less is more; start with smaller amounts of lemon juice. Try to apply on a specific area of your face at first.
Mask Recipe 2 Turmeric and Yogurt
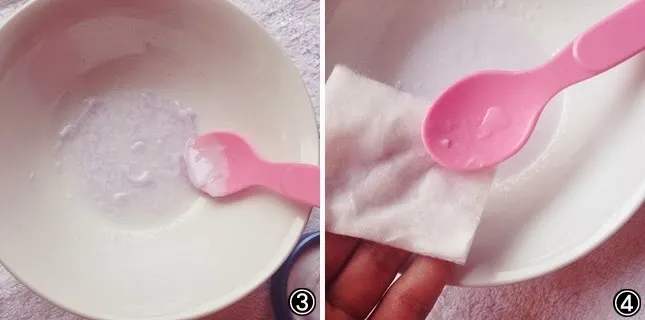
This mask leverages the anti-inflammatory and brightening properties of turmeric. Mix 1/2 teaspoon of turmeric powder with 2 tablespoons of plain yogurt. Apply a thin layer to the face and leave for 15-20 minutes. Rinse with lukewarm water. This mask is suitable for most skin types, but be mindful of potential staining from the turmeric. If you have any allergies, do not use this mask. Check the ingredients before use. Using this mask can help reduce acne and soothe irritated skin.
Mask Recipe 3 Oatmeal and Milk
This mask is gentle and effective, great for sensitive skin. Combine 2 tablespoons of rolled oats (ground into a fine powder) with enough milk (cow or plant-based) to form a paste. Apply to the face and leave for 15-20 minutes. Rinse with lukewarm water. This mask exfoliates gently and helps soothe irritated skin. Always use fresh ingredients. The ingredients should be mixed in a specific ratio for better results.
How to Apply a DIY Whitening Mask
Proper application is crucial for maximizing the benefits of your DIY whitening mask and minimizing potential risks. Always start with a clean face. Gently cleanse your skin to remove makeup, dirt, and oil. Apply the mask evenly, avoiding the delicate eye and lip areas. Leave the mask on for the recommended time. Rinse thoroughly with lukewarm water, removing all traces of the mask. Follow with a moisturizer to hydrate your skin. Apply the mask carefully.
Preparation
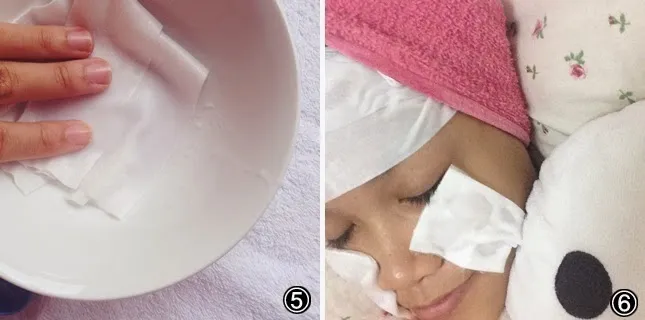
Before applying any DIY whitening mask, it’s essential to prepare your skin properly. Start by cleansing your face with a gentle cleanser to remove any impurities. Exfoliate your skin once or twice a week, depending on your skin type, to remove dead skin cells that can block the effectiveness of the mask. Gently pat your face dry with a soft towel. Preparing your skin allows the mask to penetrate the skin effectively. The preparation of the skin is vital before using a whitening mask.
Application
Apply the DIY whitening mask evenly to your face, avoiding the sensitive eye and lip areas. Use clean fingertips or a soft brush to spread the mask. Ensure an even layer for uniform results. Follow the recommended time on the mask. Once applied, relax and let the mask work its magic. Do not leave the mask on longer than advised. Overexposure can cause irritation and dryness. Applying the mask in a controlled manner is essential.
Rinsing and Aftercare
After the recommended time, rinse the mask thoroughly with lukewarm water, ensuring all traces are removed. Pat your face dry with a soft towel. Follow with a hydrating moisturizer to lock in moisture and soothe your skin. For added benefits, you can apply a serum with ingredients like vitamin C or niacinamide. Proper aftercare is essential to help restore moisture. After applying the mask, you should apply a moisturizer. Follow up with sunscreen during the day.
Benefits of DIY Whitening Masks
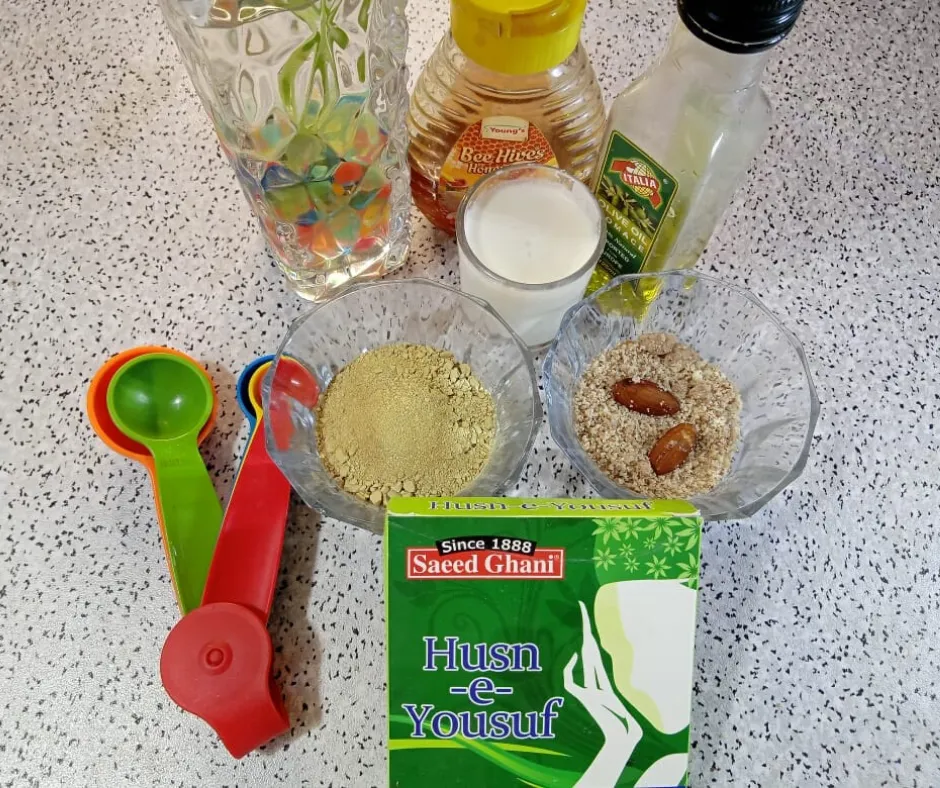
DIY whitening masks offer several benefits. They can help brighten the skin, reduce the appearance of dark spots, and improve overall skin tone. Homemade masks are often more affordable than commercial products and allow you to control the ingredients. The ingredients are usually natural, which minimizes the exposure to harsh chemicals. Regular use of a DIY whitening mask, combined with a consistent skincare routine, can result in noticeable improvements. There are many benefits of DIY whitening masks.
Skin Brightening
The primary benefit of a whitening mask is skin brightening. Ingredients like lemon juice and turmeric help to inhibit melanin production, leading to a more luminous complexion. Regular use of a whitening mask can help reduce dullness and promote a natural glow. Skin brightening is a noticeable result. When applying the masks, you should follow the instructions correctly.
Reducing Dark Spots
Many DIY whitening masks effectively target dark spots and hyperpigmentation. Ingredients like lemon juice and turmeric can help fade these imperfections over time. With consistent use, you may notice a reduction in the appearance of age spots, sunspots, and acne scars. Reducing dark spots is an important benefit. Dark spots usually take time to remove, so you should follow the process consistently.
Improving Skin Tone
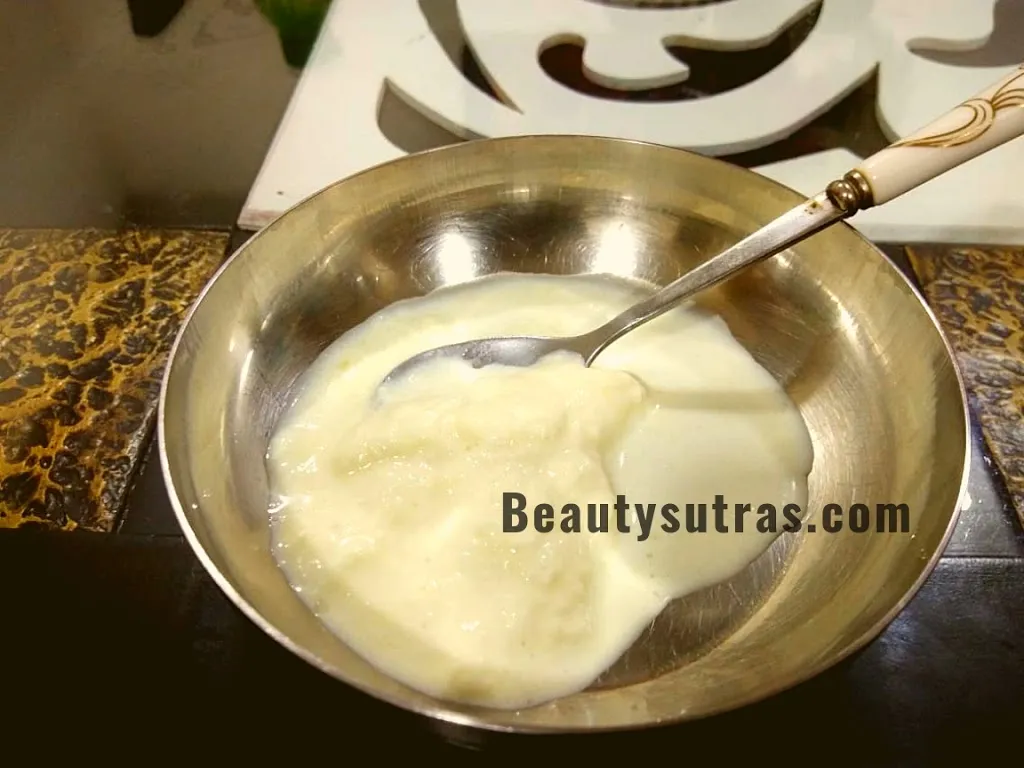
DIY whitening masks can help to even out skin tone, creating a more balanced complexion. By reducing hyperpigmentation and promoting cell turnover, these masks can contribute to a more uniform appearance. The benefits include a more youthful and radiant look. Improving skin tone can make the skin look healthy. It is essential to follow the steps for better results.
Important Considerations
While DIY whitening masks can be beneficial, it’s essential to approach them with caution. Always do a patch test before applying a new mask to your entire face. Be mindful of your skin type and any potential sensitivities. Sun protection is crucial. Avoid using masks with harsh ingredients too frequently. By understanding the risks and taking appropriate precautions, you can safely incorporate DIY whitening masks into your skincare routine. Be cautious when using homemade masks.
Patch Test
Before applying any DIY whitening mask to your entire face, always perform a patch test. Apply a small amount of the mask to a discreet area of your skin, such as your inner arm or behind your ear. Wait 24-48 hours to check for any adverse reactions, such as redness, itching, or irritation. If you experience any of these symptoms, do not use the mask. Always perform a patch test for every new mask to minimize allergic reactions. A patch test is crucial for your safety.
Frequency of Use
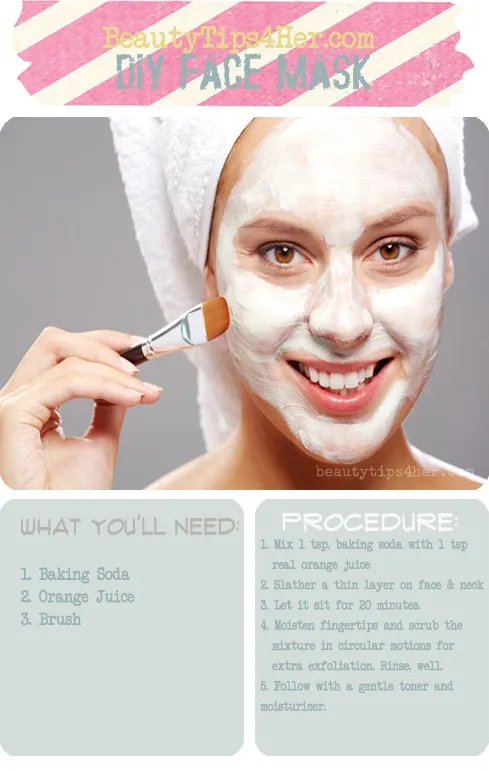
The frequency of using a DIY whitening mask depends on the ingredients and your skin type. Masks with harsh ingredients like lemon juice should be used less frequently, perhaps once or twice a week. Masks with gentler ingredients, such as honey and yogurt, can be used more frequently. Always listen to your skin and adjust the frequency accordingly. Start with a conservative approach and gradually increase the frequency as needed. It is best to start with low frequency.
Sun Protection
Many ingredients in DIY whitening masks can increase your skin’s sensitivity to the sun. It is essential to wear sunscreen daily, especially after using these masks. Choose a broad-spectrum sunscreen with an SPF of 30 or higher. Reapply sunscreen every two hours, especially if you are spending time outdoors. Sun protection is vital to protect your skin from further damage and maintain the results of your whitening mask treatments. Sunscreen should be applied daily.
